So, you want to host a webinar on YouTube, huh? You’re not alone! Many people find the idea a bit daunting, especially with all the technical stuff and content planning involved. It’s perfectly normal to feel overwhelmed, but fear not—you’re in the right place!
Stick with me, and I promise you’ll learn how to navigate this process like a pro. By the end, you’ll be ready to share your knowledge while charming your audience—no sweat!
In this guide, we’ll cover everything from setting up your channel to engaging your viewers and following up after your event. Let’s dive in and get you ready to host that stellar webinar!
Key Takeaways
- Create a YouTube channel tailored to your brand and enable live streaming.
- Choose a relevant webinar topic that meets audience needs; aim for 45-60 minutes in length.
- Prepare your content with clear main points, relatable stories, and interactive elements.
- Invest in quality tools like a good microphone and webcam, and ensure proper lighting.
- Promote your webinar with eye-catching videos and social media teasers; highlight attendee benefits.
- Before going live, conduct a tech check and engage with early viewers in the chat.
- During the webinar, interact with your audience and keep an eye on their questions.

How to Host a Webinar on YouTube
Hosting a webinar on YouTube can be a fantastic way to engage with your audience, share valuable information, and even promote your products or services.
To kick things off, you want to make sure you have a clear plan and structure in place to ensure your webinar goes smoothly. Trust me, a little preparation can go a long way!
Setting Up Your YouTube Channel for Webinars
First things first, you’ll need a YouTube channel if you don’t already have one.
Creating your channel is straightforward; just sign in to YouTube and click on “Create a Channel”. Make sure to choose a name that reflects your brand or content for easy recognition.
Once your channel is set up, customize it. Add a channel banner and logo that are eye-catching and relevant to your webinars.
Then, check your account features to ensure you’re enabled for live streaming, which is required to host webinars. If live streaming isn’t available, you might need to verify your account.
Don’t overlook the “About” section—this is where potential attendees will get the first impression of what you offer. Make it informative and friendly!
Choosing the Right Webinar Topic and Format
Choosing a topic is crucial, as it should resonate with your audience’s interests and needs.
Consider what questions people are asking or what challenges they face in your field. Tools like Google Trends or forums like Reddit can help you identify popular topics.
For the format, think about what works best for your content. Will it be a lecture, a panel discussion, or possibly a Q&A session? Each format has its perks, so choose one that aligns with your goals.
Don’t forget to keep the timing of your webinar in mind. Aim for around 45-60 minutes to keep your audience engaged without overwhelming them.
Preparing Your Webinar Content
Now that you have your topic and format, it’s time to create your content.
Outline the main points you want to cover and break them down into smaller, digestible segments. This will help your audience follow along and retain the information better.
Consider adding a story or personal experience to make your points more relatable; people love stories!
Also, think about interactive elements. Polls or live questions can spice things up and keep people engaged. Just make sure you practice these features beforehand so you don’t get caught off guard!
Lastly, rehearse your presentation several times. Familiarity with your content will boost your confidence and help with avoiding those pesky filler words.

Tools and Equipment Needed for a Successful Webinar
To host an effective webinar on YouTube, investing in the right tools and equipment is key.
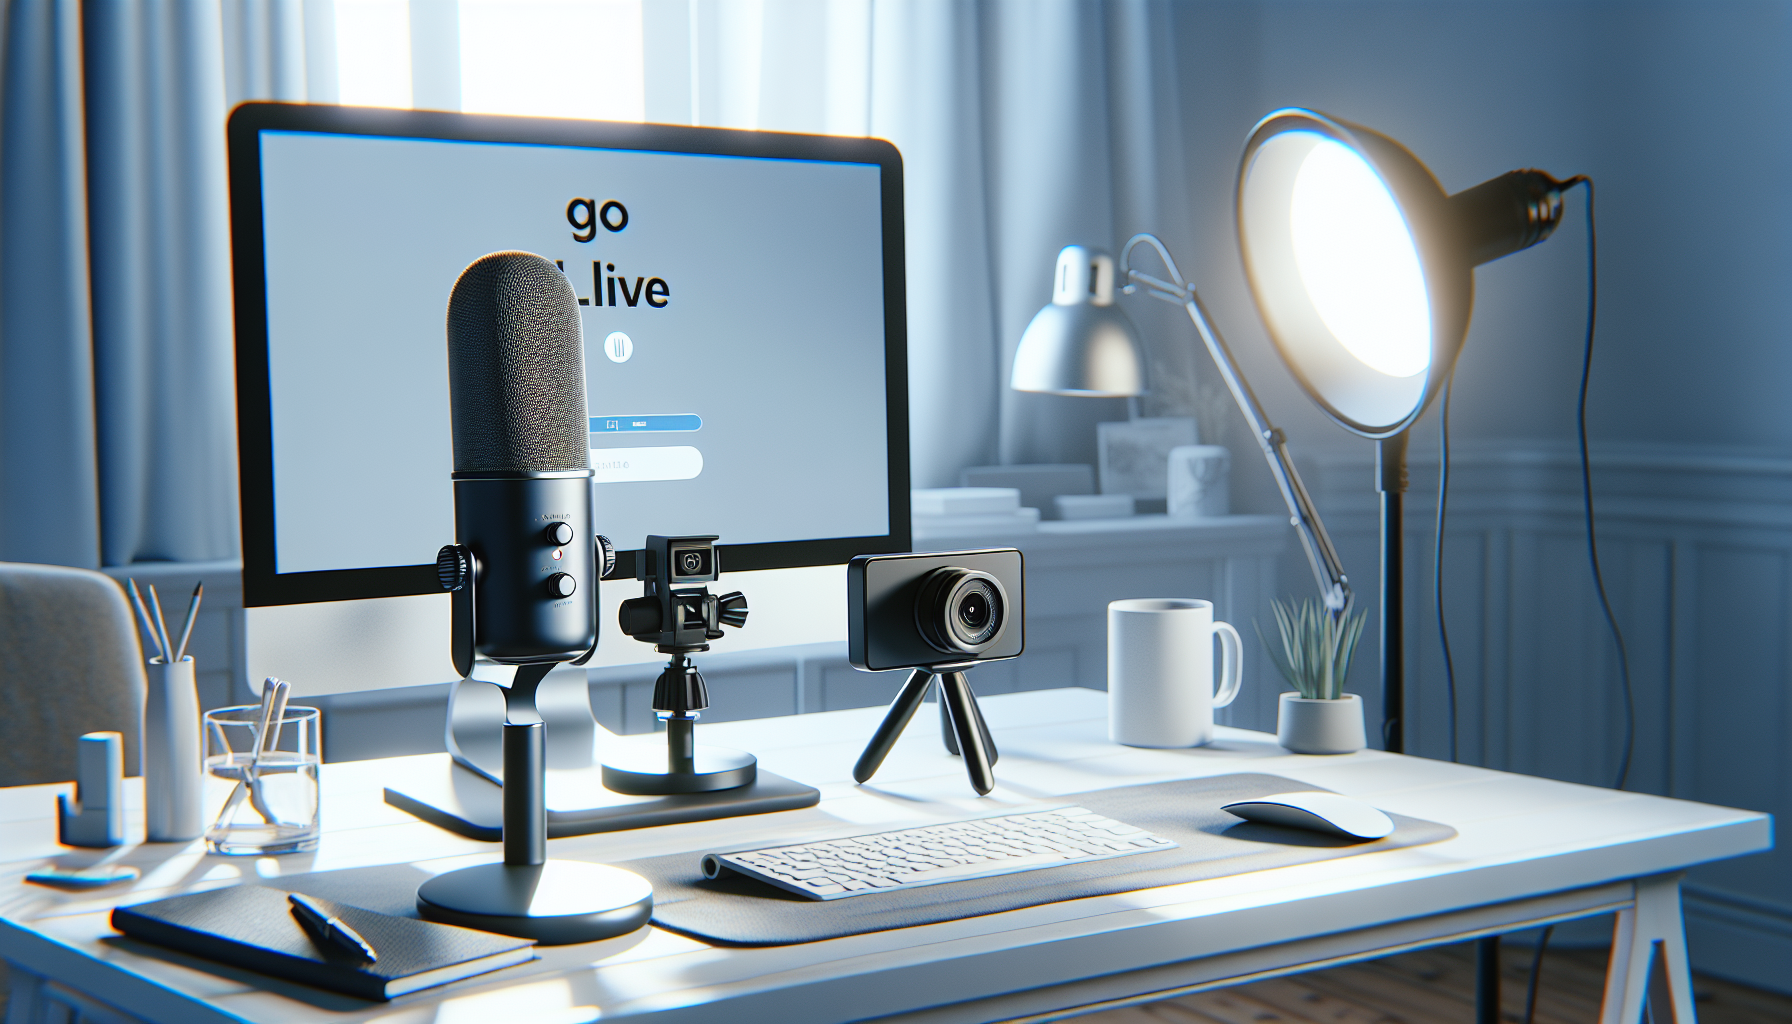
Start with a good quality microphone. Sound quality can make or break your webinar, so consider a USB condenser mic or a lapel mic for clear audio.
Next up is a reliable webcam. You don’t need to break the bank here, but opt for a webcam that offers 1080p video to ensure your visuals are sharp.
Lighting is often overlooked, but proper lighting can significantly improve the viewer’s experience. Natural light works wonders, but if you’re streaming at night, consider softbox lights or ring lights to eliminate shadows.
For streaming software, programs like OBS Studio or StreamYard can help you add professional touches like graphics and transitions.
Lastly, create an environment that’s free of distractions. A clean, quiet space will help you stay focused and present during your webinar.
Promoting Your Webinar on YouTube
Promotion is essential to ensure people show up to your webinar.
Start by creating an eye-catching promotional video. This could be a brief introduction of yourself and the topics you’ll cover.
Use YouTube’s built-in features, like creating a dedicated event on your channel, to generate buzz.
Promote on social media platforms like Facebook, Twitter, and Instagram. Share teasers, infographics, or countdowns to get people excited.
You can also engage your email list by sending out invites and reminders as the date approaches.
In your promotions, be clear about what attendees will gain by joining your webinar. Highlighting any exclusive resources you’ll offer can make your session even more appealing.
Lastly, don’t hesitate to reach out to industry partners or influencers to help spread the word. Cross-promotions can amplify your reach considerably!
Going Live: Steps to Start Your Webinar
Finally, you’re ready to go live! Here are the essential steps.
First, log in to your YouTube account and click on the camera icon with a “+” sign to select “Go Live”.
Set up your streaming settings. Be sure to choose “Webinar” as the stream type if that option appears.
Before hitting that “Go Live” button, do a last-minute tech check. Test your audio, video, and internet connection to avoid any hiccups.
Engage with any early viewers by chatting in the live chat section. This builds excitement and ensures that people feel welcomed.
Once everything is ready, click “Go Live” and enjoy the moment! Remember to smile and maintain eye contact with the camera, just like you’re having a conversation with a friend.
During your webinar, keep an eye on the chat for any questions or comments, and don’t forget to interact with your audience.

Engaging Your Audience During the Webinar
Engagement is key to a successful webinar, so make it interactive right from the start.
Begin by asking a question in your introduction to get people thinking and participating early on. For example, ask them to share their expectations in the chat.
You can also use polls to gather insights and opinions. Websites like Slido let you create real-time polls that are easy to integrate into your stream.
Encourage viewers to ask questions throughout the webinar. A good practice is to set aside some time for a Q&A session at the end of your presentation.
Respond to comments and questions as they appear in the chat. This makes your audience feel valued and lets them know you’re paying attention.
Another great way to keep viewers engaged is to incorporate multimedia, like videos or slides, which can help illustrate your points and break up the presentation.
Lastly, don’t forget to smile and show enthusiasm—your energy can be infectious and will keep your audience attentive and interested!
After the Webinar: Follow-Up and Analysis
Once your webinar wraps up, the work isn’t quite done yet. Follow-up is crucial!
Start by sending out a thank-you email to all attendees, expressing gratitude for their participation. This can also include a link to the recorded webinar for those who missed it.
In your follow-up email, consider including a short survey to gather feedback. You can simply ask what they liked and what could be improved.
Analyzing this feedback will give you valuable insights for future webinars.
Also, don’t forget to promote your recorded webinar on social media and your website. This can help reach a wider audience who might have missed the live event.
If you offered any resources or exclusive content during the webinar, make sure to include links to them in your follow-up communications.
Finally, take a moment to reflect on your own performance. Jot down what went well and what you might want to do differently next time. This self-reflection will only help you improve in your future webinars!
FAQs
To set up your YouTube channel for webinars, ensure your channel is verified and enable live streaming. Customize your channel with relevant branding and optimize the description to reflect your webinar goals.
Essential tools include a reliable webcam, microphone, streaming software (like OBS), and a stable internet connection. You may also consider using presentation software for slides and interactive tools for audience engagement.
Promote your webinar through engaging thumbnails, compelling video descriptions, and sharing across social media platforms. Collaborate with influencers or partners for broader reach and consider creating teaser videos to spark interest.
After the webinar, follow up with attendees through email, share recorded content, and gather feedback via surveys. Analyze viewer engagement data to improve future webinars and tailor your content based on insights.
